


 My quick blueprint tutorial


First you find a blue print of what type of vehicle you want. It should have Three facings: Top, Side, and Front.
The reason is so you have a more accurate idea of what to do.NOTE: IT HAS TO BE A GOOD QUALITY BLUEPRINT Other wise when you resize it, you'll have nothing good. Example:Good blueprint,Good. Bad Blueprint,Bad. The reason it's bad is because it's a solid line and when you resize it, it will have incomplete lines. What you do want is antialias lines like in the "Good" one, also bigger blueprints help too. And if the turret blends in with the body when you resize it, Undo the resize and paint it red, now you know where the turret is and where the body is.
02.
Now you have your blue print, you need to crop each view(top,side,front) so you have each in it's own file.
After this you need to re-size them to a more suitable size.(Though, who wouldn't want to drive around with a tank the size of the map.)
3.
Compare the sizes of the image's after you resize Example: the Top views height should be the same or really close to the width of the front view. Now that you checked and re-sized the image a whole lot you can take the exact size and put it in the voxel parameters of VSEIII but wait, you should make it bigger by 1 on each parameter so the blueprint wont get in the way when your voxeling.
I'll be using a 10x10x10 voxel as an example.
4.) After you type the parameters in to the voxel and click OK, Fill the top,side(Depends on the blueprint if its left or right) and front with a bright color like red then do the same on the layer right behind the red with grey.
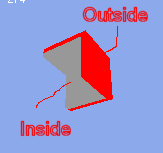
5.) Now click on this icon in VSEIII
 It ill take you here:
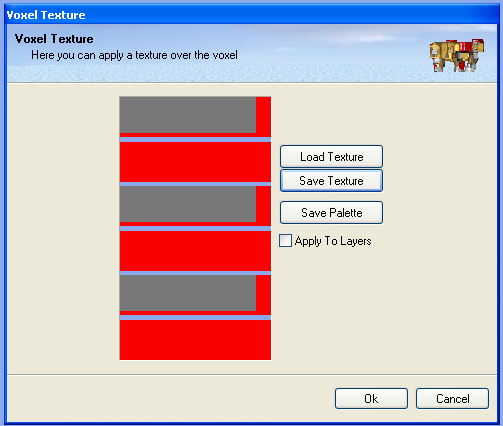
Now save it where ever you want.
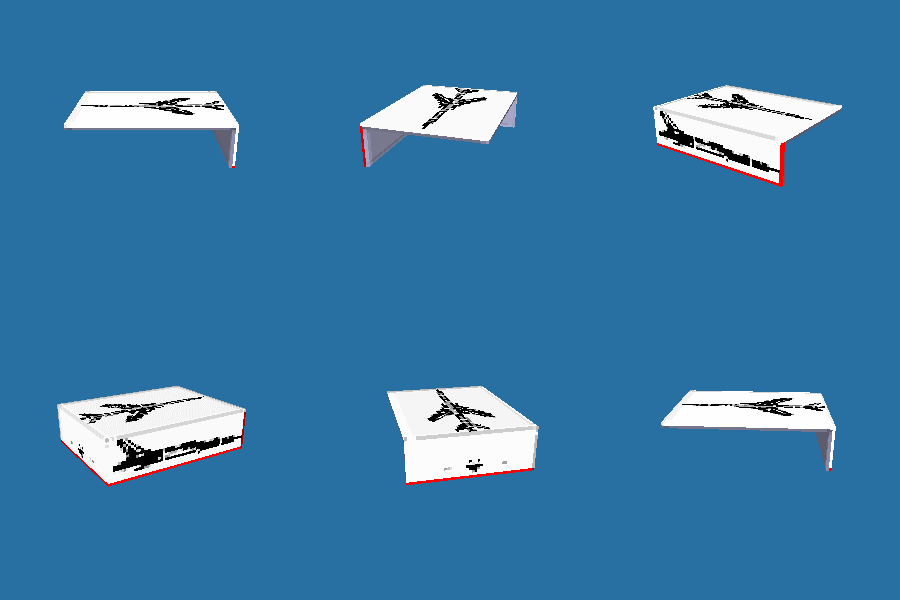
6.)Now its time to add the blueprints, open it in an image program like PS or PSP or something that can have more them one image open. When you open it it will look like this:
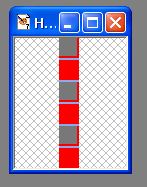
The red is where you put the blueprints it goes like this: Top,Side,Front(Those are the reds in order) But before you ad them you need to make sure that there facing the correct way.(See pic I'm using my M113A3 as an example)Note:the Side I'm using is the left side.
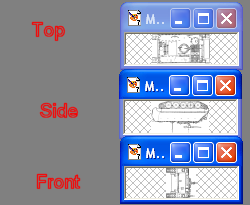
Put them in and save the texture, load it in VSEII and your done with that now remove the grey layers after you add the blueprint to VSEIII and then save the texture.
NOTE:if want you me to explain something post here and I'll see what I can do.



 So tell me something, do you actually copy and paste the resized images in vxlIII editor, or do you put the picture to the side and use it as a reference guide.
 Some things I get and some things I just dont, this is one of them. Let me run this down.
 )
)


 Good luck


